This weekend was another long one, as we had Monday off for the May Bank Holiday.
The morning dawned grey and chilly, so my friend and I decided to do some crafting. We’re both big readers, so it seemed only fitting that we made our own embroidered bookmarks.
After a quick trip to Hobbycraft and a couple of hours spent sewing, we were done!
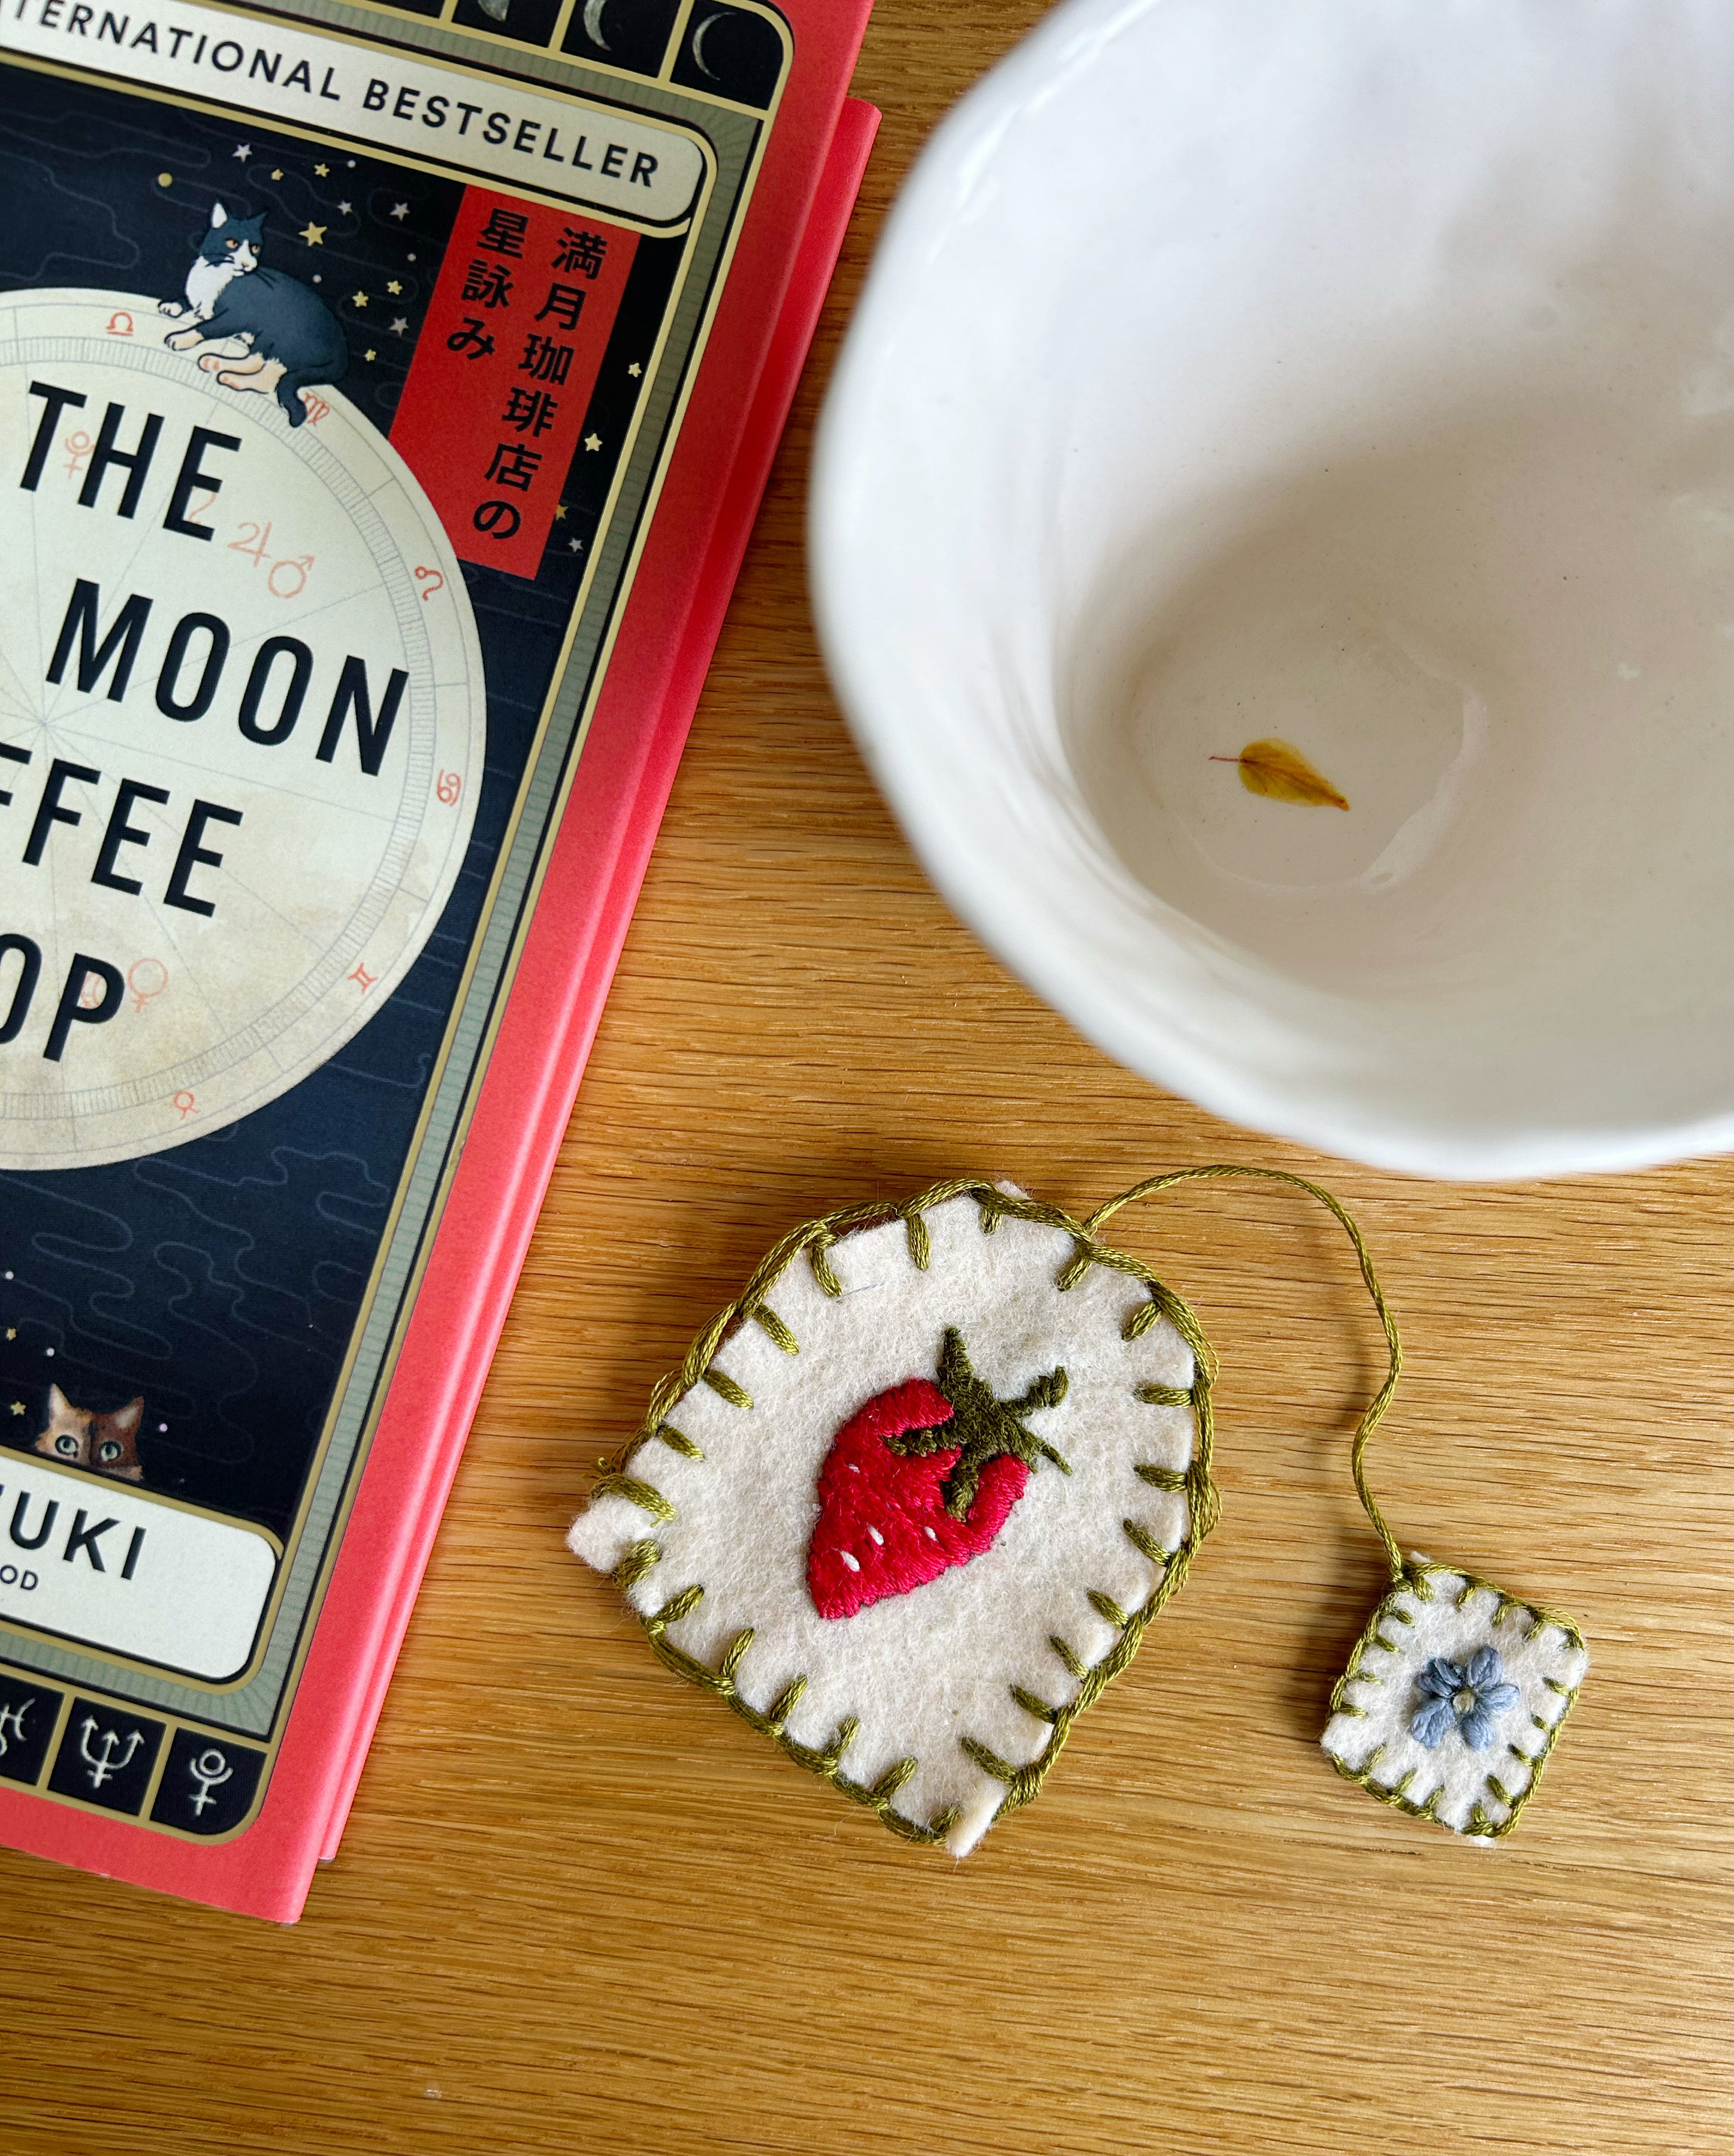
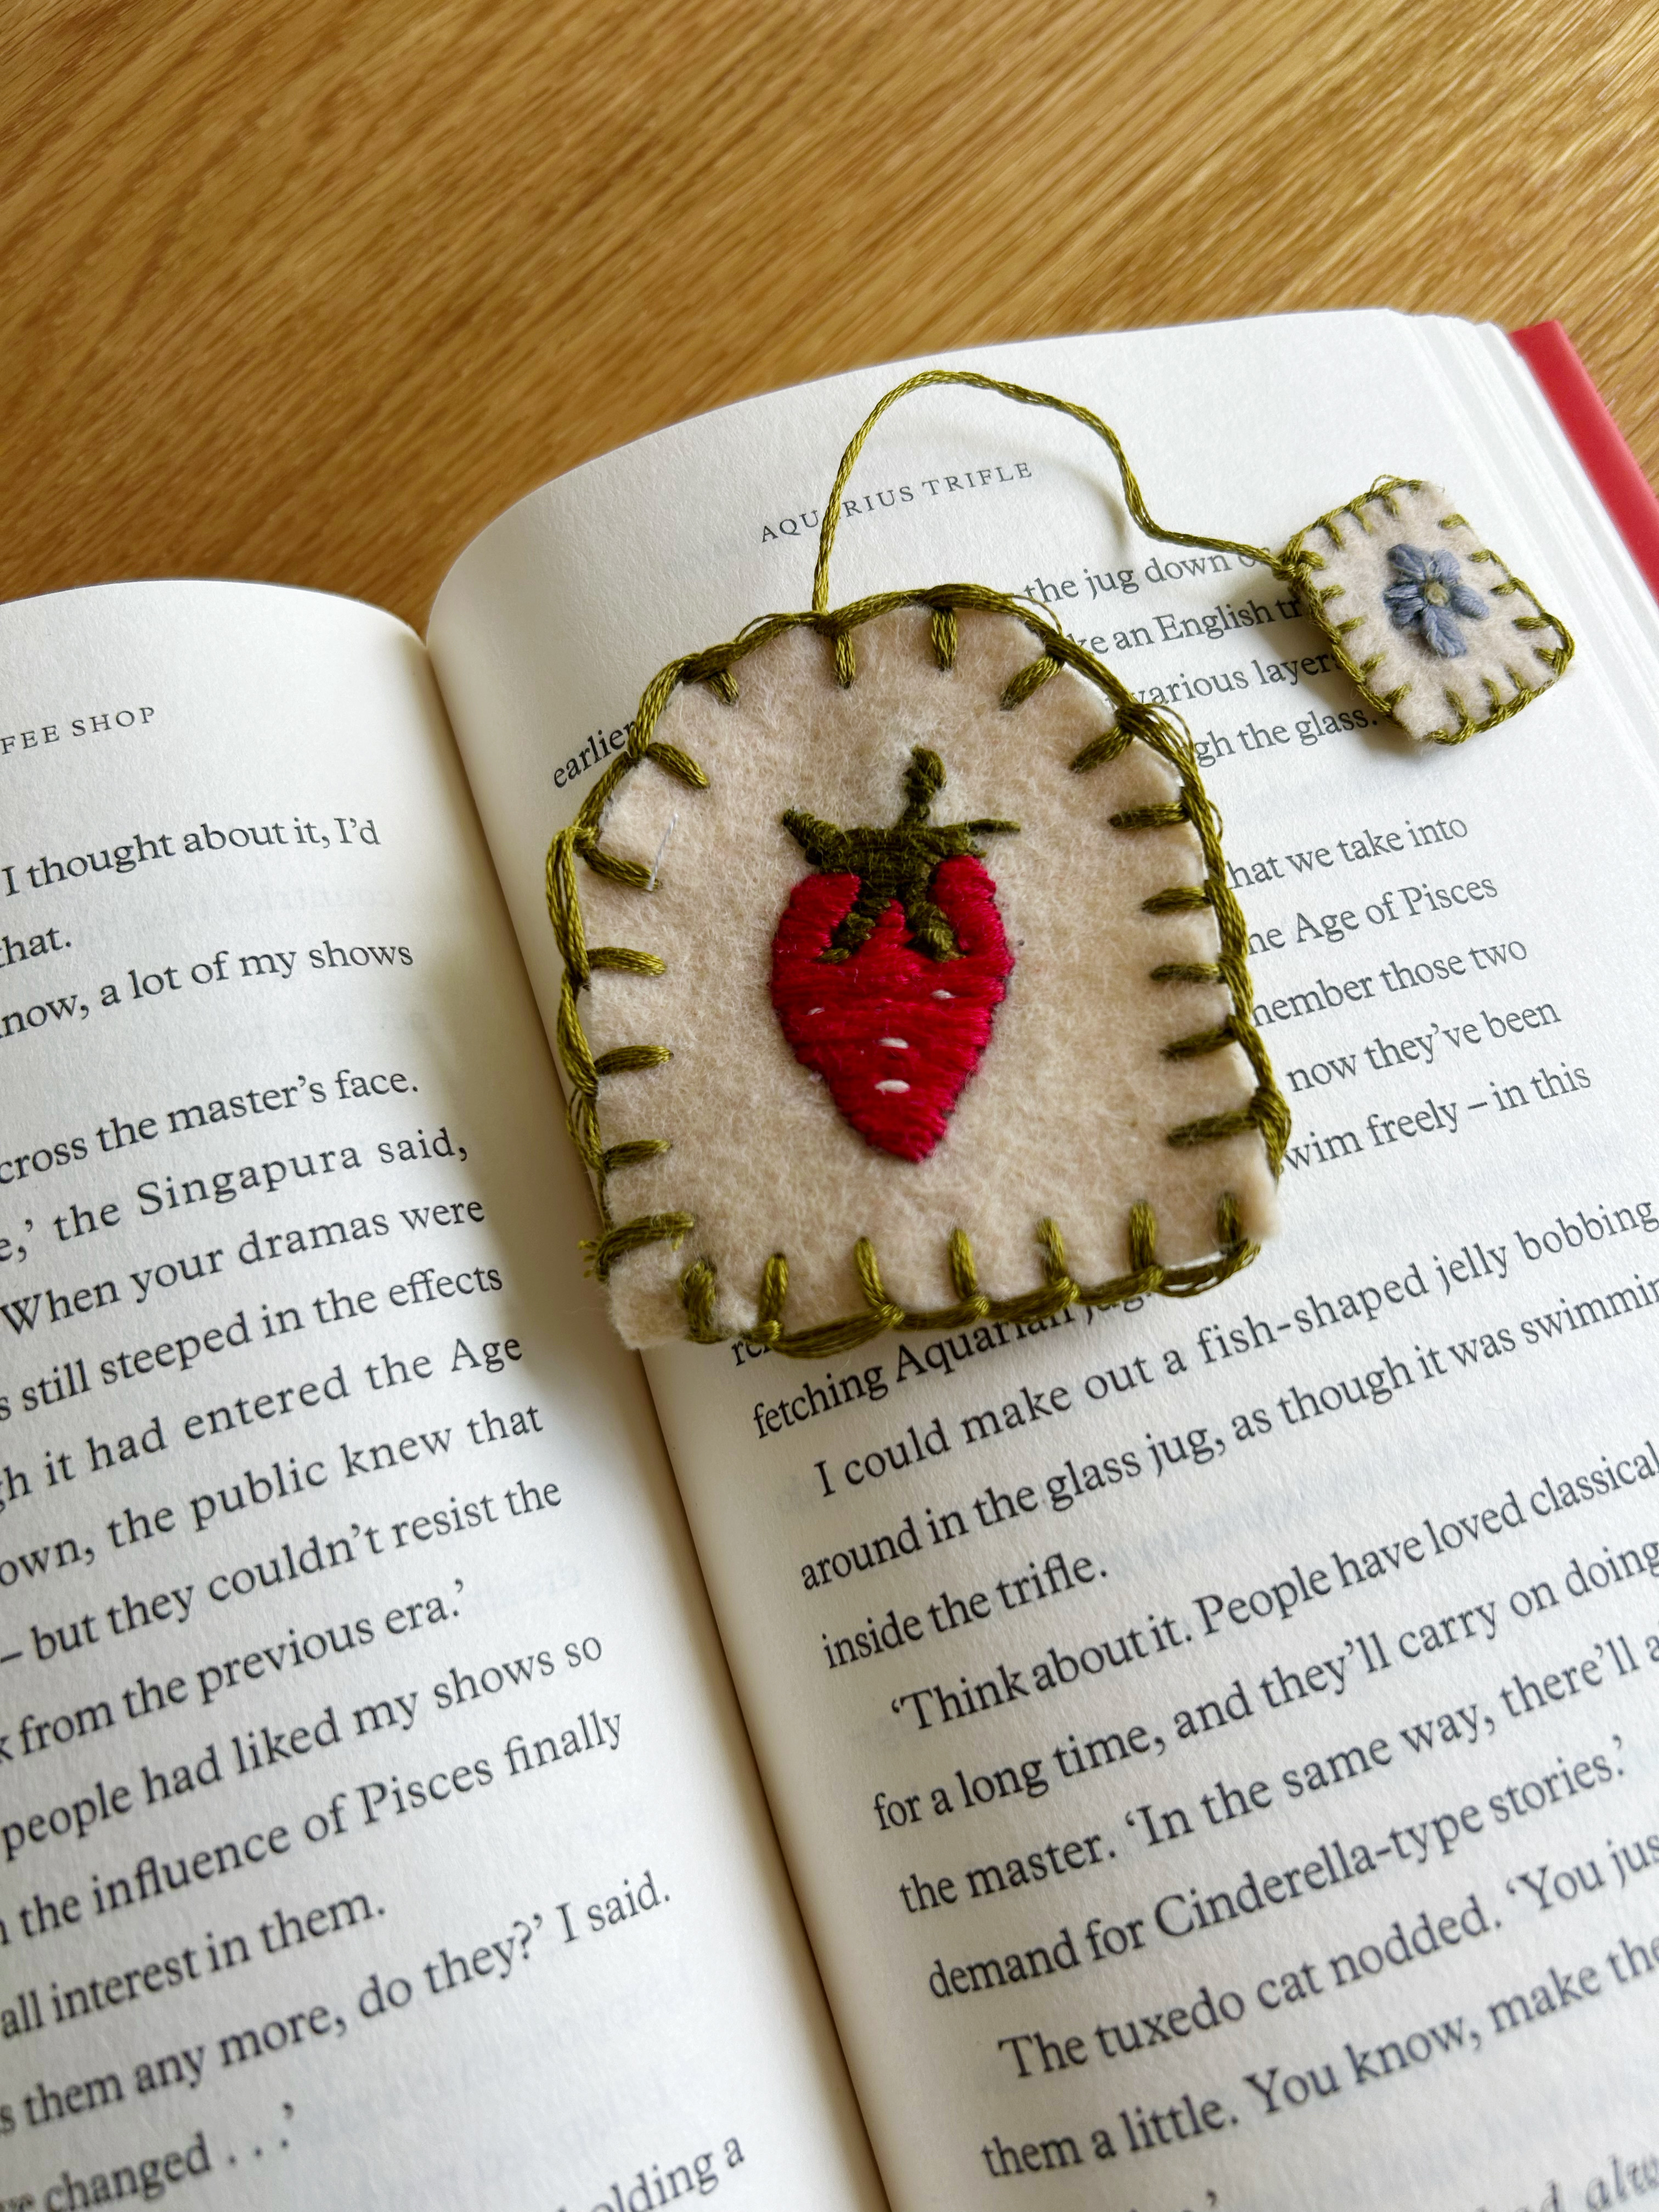
I just love how they turned out. My strawberry teabag design is so cute, and perfect for spring.
We followed this tutorial by The Baker and the Boys over on YouTube, and it was surprisingly simple. You don’t need to know any complicated stitches – I just made it up as I went, and used this quick blanket stitch tutorial right at the end.
I’m more of a writer than an artist, so I used some stick and stitch embroidery paper instead of drawing my own designs. This stuff is a lifesaver – you simply ‘colour in’ the image with embroidery and then wash away the paper.
I made this bookmark as a gift for my mother-in-law, but I’m already planning a mushroom one for myself.
They don’t take long to make – I spent around two hours on this first one, but I did have to learn the blanket stitch and figure out which designs to use. Hopefully my next attempt will be a little quicker!

As this project was such a success, I wanted to share it here so you can make your own.
You will need:
- Felt sheets
- Embroidery needle
- Selection of coloured embroidery thread
- Stick and stitch designs
- Scissors
How to make your bookmark:
- Sketch out your teabag shape on a piece of felt, then layer another piece of felt underneath and cut them both out together. Repeat for the little square tag.
- Choose your stick and stitch design and place it on the felt. Or, if you’re more artistically inclined, sketch out your own with a washable pen.
- Fill in the design using embroidery thread. You can get creative here – make your stitches as large or small as you like.
- Wash away the stick and stitch paper. Be careful if you’re using felt – I just wet my finger under the tap and rubbed it carefully along the edge of the design until the paper dissolved.
- Use blanket stitch along the edge of each piece to secure both halves together.
- Attach both pieces together using a small length of string.
This was such a cosy and relaxing project to work on. I didn’t even mind the cold weather outside!
I’d love to make a pumpkin or leaf-themed version for autumn, to go with all the spooky books I’ll be reading. Or a Christmas one for December, with a little snowman or candycane.
The possibilities are endless…

Leave a comment